Welcome to part 2 of our Food Photography Series! Post your questions below and Rebecca will answer them in Part 3!
This week I’ll be sharing 5 simple tips to take beautiful photos. Since I’ll be sharing equipment suggestions next week, I will focus on lighting & styling in this post. Remember that the best tips are to keep learning and practice! There’s a lot you can learn from just looking through your viewfinder.
1. Turn off indoor lights. You don’t need fancy lighting equipment (I don’t use any), you just need a window. But don’t muddle that great natural light with too warm or florescent lights. Turn off all the lights in the room you’re shooting in if possible. Definitely do have any lights directly over your photo shoot. Those will really wreck your photo (stay tuned for more lighting tips next week!).
2. Choose the direction of your light. I personally set my camera up either on the opposite side of the window or next to it (90 degrees). That’s a great place to get started, but you can play around with the direction from there. Just don’t place your camera between your light source and food, the light will look flat.
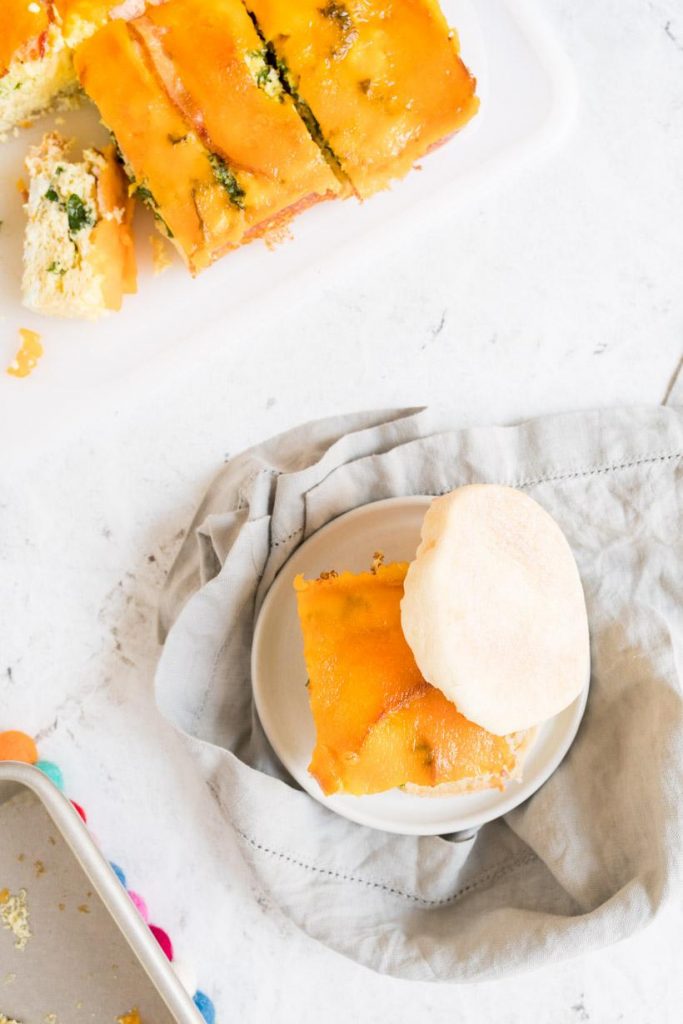
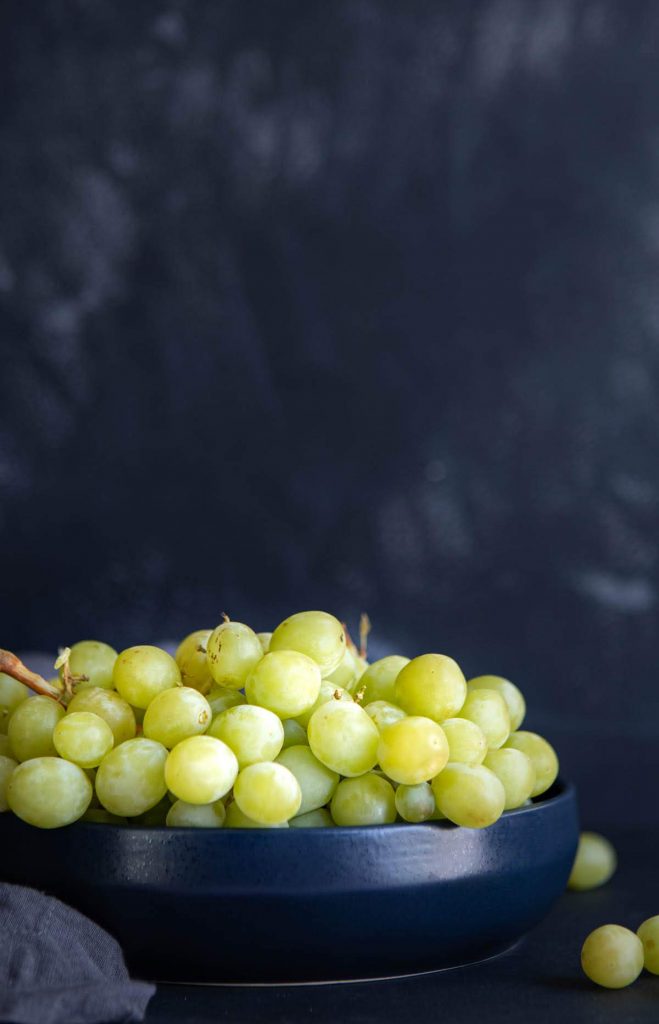
3. Use small props. In general, overflowing food looks better than using props that are much bigger. What I mean by that is start with small plates/bowls and fill them up. It can be difficult to control shadows in bowls that are ½ filled and big white plates can be distracting from your yummy food.
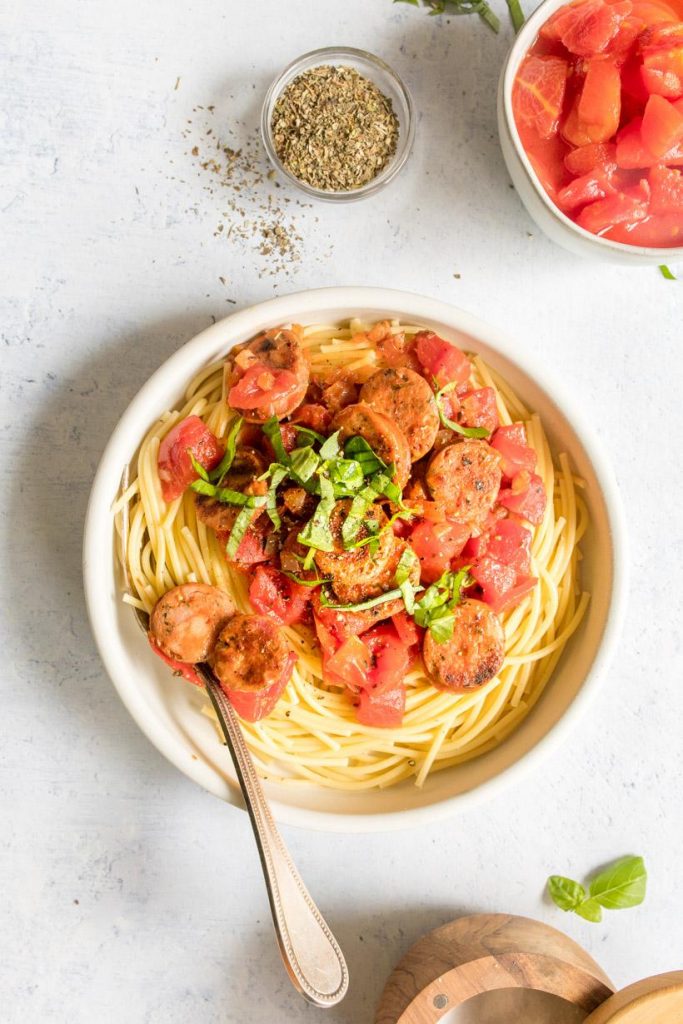
4. Simple props. One mistake I often see new photographers make is to use really bold props. A bright pink plate, seasonal napkins with lots of color and detail. Sure, these are cute, but can really distract viewers from your food. I recommend starting with really simple white, gray, and black props and then adding in more color once you get the hang of styling and your own personal style. Colorful props can complement your food but complimentary colors are what looks good, not just any color.

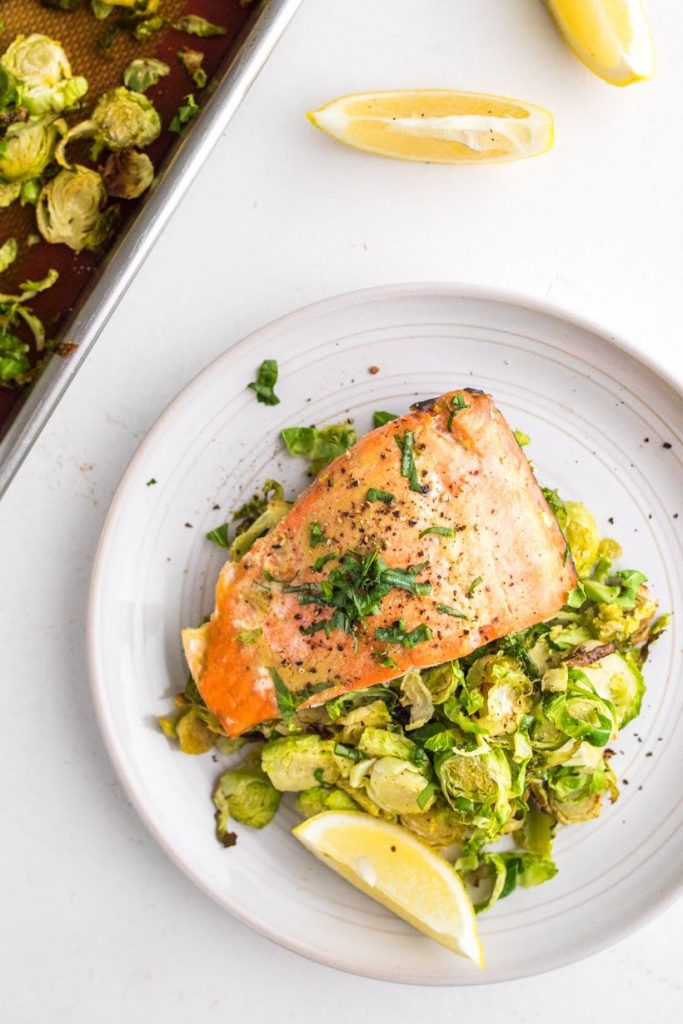
5. Start with the 3 main angles. Overhead photos are great for most foods. If it looks great on top, try an overhead shot. A 45-degree angle (or ¾) is great for tall foods that look good on top and on the side. A straight on angle is perfect for tall drinks and foods, and any subject that’s most interesting on the side. Stick to these 3 angles until you feel comfortable and move on from there. These are like the training wheels of food photography.
Now that I’ve shared my 5 easy tips, it is your turn to ask questions. I’ll be answering them + sharing my equipment advice in Part 3 of my series. Spoiler alert: you CAN use what you have on hand, or just spend a couple dollars.
Comment your questions below!
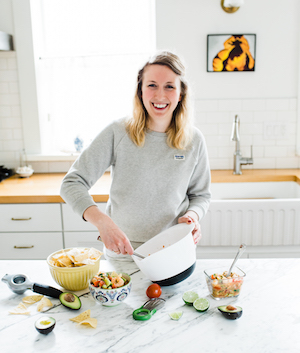
— Rebecca Clyde MS, RDN, CD is a Salt Lake based dietitian, food photographer and owner of Nourish Nutrition Co., as well as the current UAND Membership Chair.
Hi Rebecca,
Your series is coming at a really great time for me, I’m a recent grad and new RD and I just started my first nutrition instagram account focusing on backpacking & camping meals (@thebackpackdietitian).
I choose to make an instagram account only (and not a blog) because I’m intimidated by the amount of time a blog could take and I have no experience with website design. I love writing and recipe creation but am worried that it might take the fun out of cooking if I feel like I constantly need to be “putting out content.”
I’m wondering if you could comment on the number of hours you spend per week on your online content, and if & how you believe your blog has helped you build a clientele.